
Why the Claim Timeline Matters in North Texas
Severe weather moves through the DFW Metroplex on a regular schedule, and when it does, insurance claims become the path most homeowners and business owners take to get their property back in shape. Understanding the order of events before you need it means you won't be scrambling to figure out what step comes next while water is still coming through the ceiling.
A claim isn't a single phone call, it's a sequence of stages that each depend on the one before it. Skipping a step, like signing a repair contract before an adjuster has seen the damage, can slow the whole process down or leave money on the table. Walking through the full timeline ahead of time gives you a framework to measure progress against, whether you're dealing with a residential property or a commercial building.
How Does the Claim Process Actually Work?
A roof claim works by moving through documentation, filing, inspection, and settlement in that order, with payment typically split into an initial payout and a holdback released after the work is finished. Each stage has its own timing expectations, and understanding the mechanism behind each one helps you know what's normal and what's worth following up on.
Documenting the Damage
The moment you notice damage, whether it's a leak, visible debris, or an area that looks different after a storm, start taking photos and video from the ground and from inside the property if water has come through. Date-stamped images are your best evidence and they cost nothing to collect. If there's active water intrusion, a temporary emergency roof tarping measure can prevent interior damage from compounding while the claim moves forward.
Keep a simple log of what happened and when. Note the date of the storm, when you first noticed the damage, and any temporary repairs you made. This record becomes useful later if the adjuster or carrier asks questions about the sequence of events, and it keeps the details fresh instead of relying on memory weeks later.
Filing With the Carrier
Call your insurance company or file online to open the claim, and have your policy number, the date of the damage, and your documentation ready. Most carriers assign a claim number immediately and give you a timeframe for when an adjuster will reach out to schedule an inspection.
This is also a good time to review your policy's filing deadline, which is often outlined as a window of time from the date of loss, commonly around one year but this varies by policy, so check your specific documents. Filing promptly protects your claim and gives the carrier the most accurate picture of recent damage versus wear that built up over time.
| Stage | Typical Timing | Who Drives It |
|---|---|---|
| Document and file | Same day to a few days | Homeowner |
| Adjuster inspection | Within one to two weeks | Carrier |
| Estimate and scope review | One to two weeks after inspection | Carrier and contractor |
| Repair or replacement work | Days to a few weeks depending on scope | Contractor |
Understanding ACV, Depreciation, and Your Deductible
Most policies pay out in two parts. The first payment is based on the Actual Cash Value, or ACV, which is the replacement cost minus depreciation for the roof's age and condition. The second payment, called recoverable depreciation, is released after the work is completed and you've submitted proof of the finished job.
Your deductible is subtracted from the total payout, not added to your cost on top of it. If your policy includes a separate wind or hail deductible, that may apply instead of your standard deductible depending on the cause of the damage. Reading your declarations page before the adjuster arrives helps you understand what you're working with financially.
Step-by-Step: What to Expect From Storm to Finished Roof
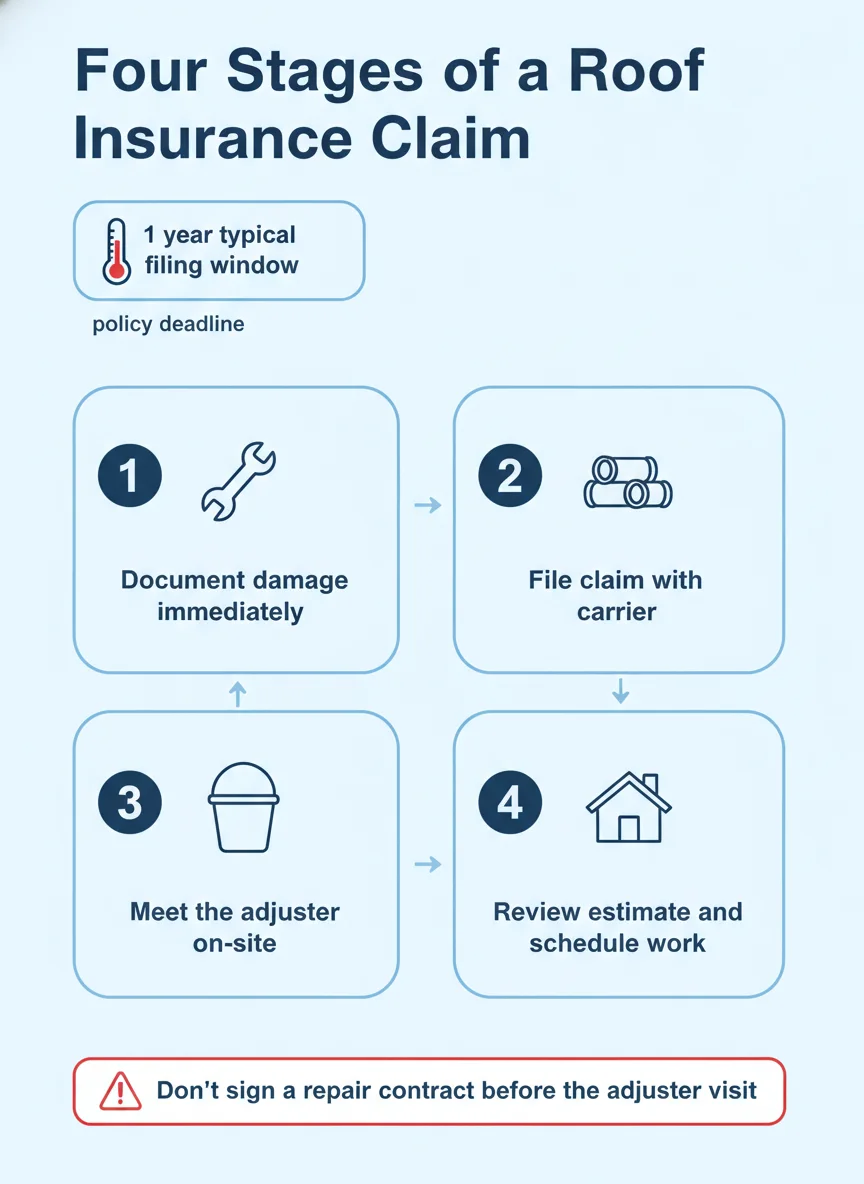
Here's the general order most Texas roof claims follow from the moment damage occurs to the day the project wraps up. Every claim is a little different, but this sequence holds true in most cases.
- Document everything: Photograph and video all visible damage as soon as it's safe to do so, both outside and inside if water has entered the property.
- File the claim: Contact your carrier with your policy number and documentation to open a claim and get a claim number assigned.
- Get a contractor inspection: Have a roofing contractor inspect the property so you have an independent assessment to compare against the carrier's findings.
- Meet the adjuster: The carrier's adjuster visits the property to assess damage and determine the scope and payout, ideally with your contractor present.
- Review the estimate: Compare the adjuster's scope to your contractor's estimate and submit a supplement with photo documentation if anything was missed.
- Schedule and complete work: Once scope and payout are agreed upon, the contractor schedules the roof replacement or repair and completes the job.
- Submit the final invoice: Send the completed invoice to your carrier to release the remaining recoverable depreciation payment.
What Will the Adjuster Actually Look For?
The adjuster is looking to confirm the cause, extent, and age-related condition of the damage, comparing what they find against your policy's coverage terms. They'll typically walk the roof, take their own photos, and may use tools to measure slope and material condition before writing up their findings.
Matching Materials and Scope
One common point of disagreement is whether a partial repair is sufficient or whether a full replacement is warranted, especially if matching materials are no longer available or if damage is spread unevenly across the roof. A contractor familiar with the local market can speak to whether matching shingles or panels are realistically sourceable.
If only part of a roof is damaged but the rest shows significant wear, that's worth raising with the adjuster directly, since insurers sometimes separate storm damage from pre-existing wear in their scope. Clear photos showing the difference between the two areas help support your case either way.
When the Numbers Don't Match
If your contractor's estimate comes in higher than what the adjuster approved, that gap gets addressed through a supplement request rather than a dispute from scratch. This is a normal part of the process and doesn't mean the claim is being denied, it just means more documentation is needed to support the difference.
A detailed written estimate from your contractor, including photos tied to specific line items, is the most effective way to move a supplement forward. Most carriers have a formal process for reviewing these and will respond within a set window once it's submitted.
What Can You Handle Yourself, and When Do You Need a Pro?
Documenting damage, filing the initial claim, and keeping your own records are all things a homeowner can and should handle directly. These steps don't require special licensing and moving quickly on them protects your claim from the start.
Once it comes to assessing the actual condition of the roof system, matching materials, or negotiating scope with an adjuster, that's where a licensed roofing contractor earns their place in the process. They know what a thorough roof inspection should capture and can translate technical damage into language that supports your claim.
Any actual repair or replacement work should always go to a licensed, insured contractor, both for safety reasons and because unlicensed work can complicate or void a claim down the line. If you're trying to find the right fit, our guide on questions to ask before you hire a roofing pro covers what to look for before signing anything.
Getting From Storm Damage to a Finished Roof
The claim process can feel like a maze the first time you go through it, but it breaks down into a handful of predictable stages: document, file, inspect, agree on scope, complete the work, and collect the final payment. Knowing that order ahead of time means fewer surprises and less time lost chasing the wrong step.
Properties across Dallas, Fort Worth, and the surrounding Metroplex go through this process every storm season, and having documentation and a contractor lined up early makes the whole thing move faster. Renovacore Builders LLC walks DFW-area property owners through storm damage and insurance claims support from the first inspection through the final invoice.
Frequently asked questions
How long does a roof insurance claim take in Texas?
Most straightforward claims move from filing to an adjuster visit within a couple of weeks, with the full process from storm to finished roof often running four to eight weeks. Claims with disputes over scope or depreciation can take longer, especially after widespread regional storms when adjusters are stretched thin.
Do I have to be home for the insurance adjuster visit?
It helps to be there, but it's not always required if your contractor can meet the adjuster on your behalf. Having someone who knows the roof present, whether that's you or your contractor, usually leads to a more accurate estimate the first time around.
What is recoverable depreciation and how do I get it?
Recoverable depreciation is the portion of your claim payout withheld until the repair or replacement is actually completed and documented. Once the work is done, you submit the final invoice to your carrier and request the remaining funds, which most policies release within a short review period.
Can I choose my own contractor for an insurance roof claim?
Yes, in Texas you have the right to select whichever licensed contractor you want for the work, regardless of who the carrier recommends. Getting a second opinion before you sign anything is a reasonable step, especially if the first estimate feels rushed or incomplete.
What happens if my contractor's estimate doesn't match the adjuster's?
A mismatch between your contractor's estimate and the adjuster's scope is common and usually gets resolved through a supplement, which is an updated estimate submitted back to the carrier with photos and documentation supporting the difference. Most carriers will review a well-documented supplement and adjust the payout accordingly.